These sandpaper-crayon prints might be my new favorite printmaking process. I always adore projects that students can replicate at home, this one can be and is absolutely beautiful to boot. I first saw this process on Kitchen Table Classroom and was thrilled by the results my Advanced Art enrichment students had.
You'll need:
You'll need:
- Crayons- beware, they go fast with this project and a number of students broke crayons. It's a good way to use up all of those already broken pieces that are just big enough to hold.
- Sandpaper- I bought a box of pretty gritty paper from Home Depot years ago and just cut pieces down. Kitchen Table Classroom says any kind will do though.
- Iron- I've got an inexpensive iron that gets hot, hot, hot. This is definitely not the project to do with your expensive iron.
- Paper- We used 50lb white drawing paper.
- Clean washcloths/rags: I was glad I had something to soak up the excess crayon that went through the paper.
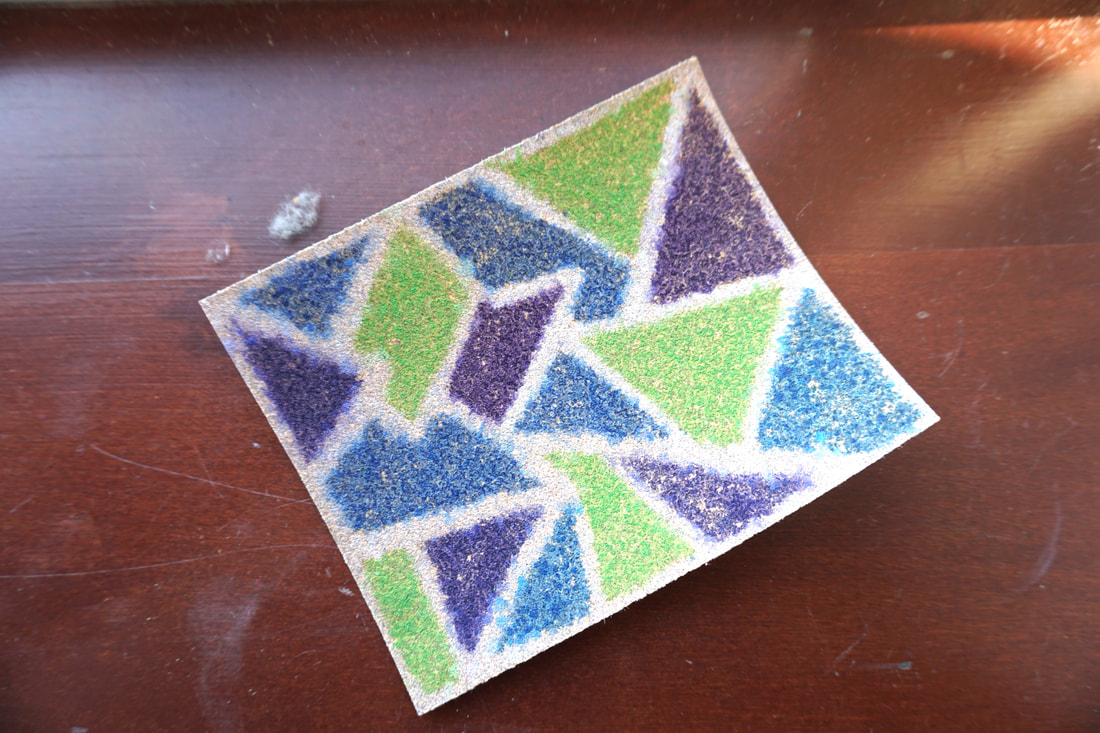
Sandpaper plate.
The Process:
- Students should start by designing their piece. Remind them that everything they do comes out backwards- so letters and words should be avoided.
- Once they're ready, have students start coloring their design on the sandpaper with crayons. The harder they color, the better their print will come out. (This is why so many crayons broke!) I encouraged students to work small and apply as much crayon wax as they could.
- Take the completed sandpaper "plate" and put it crayon side down on the paper. I layered two heavy cotton rags under the paper to help soak any crayon that soaked through the paper. Iron the plate, continuously moving the iron, applying equal pressure. (I stopped once the sandpaper started steaming.)
- The sandpaper is HOT, so use caution when taking the sandpaper off of the paper to reveal the print!
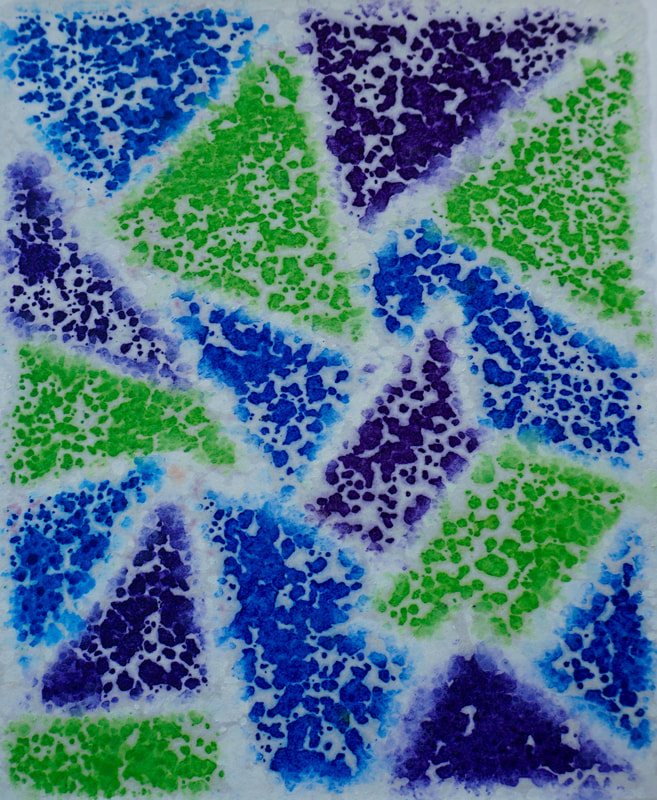
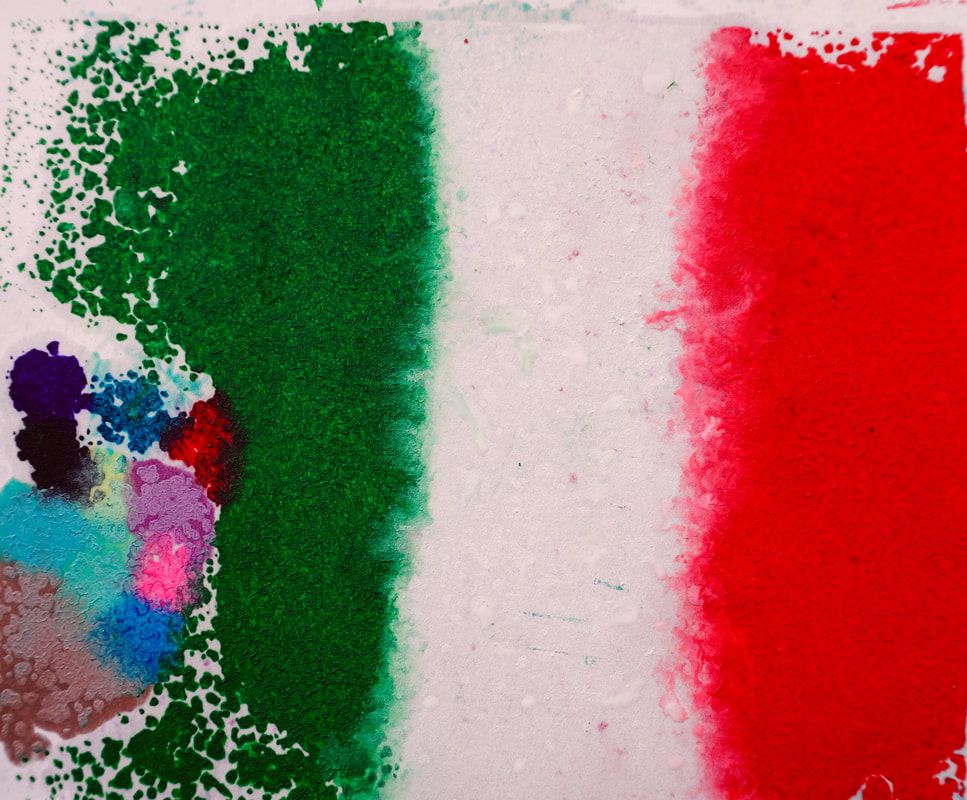
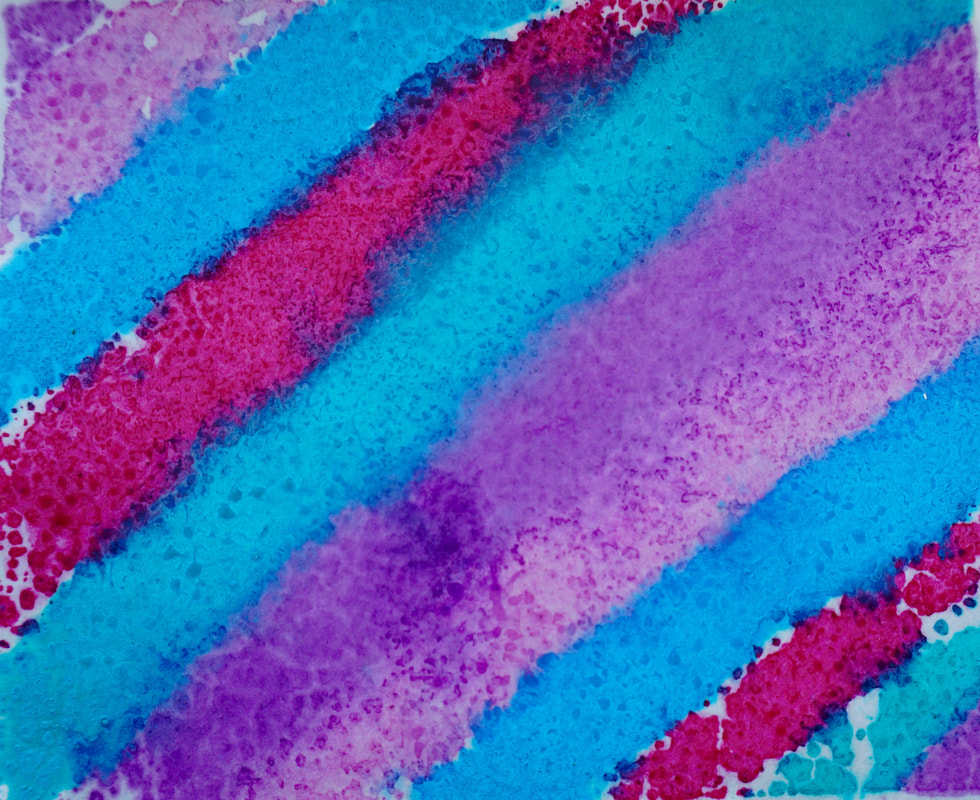
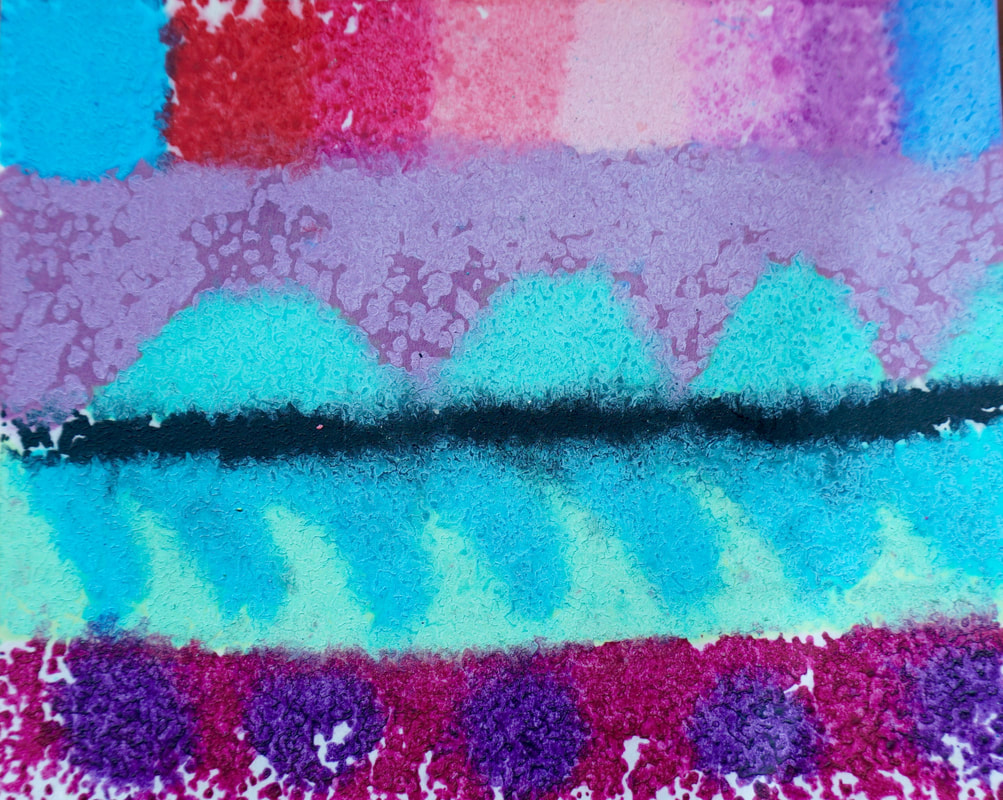
Completed piece from plate pictured above!